Believe it or not, but not only have i been studying and practicing "molecular Gastronomy", but i have gotten involved in making some really awesome "artisan" stuff as well, this picture above is my current cheese collection that i started about 4 months ago.
Wow has this been fun, i have made Pecorino, Drunken Pecorino, Camembert, Grande Brie, Parmesan, Provolone, Gouda, Monterey Jack, Haloumi, Feta, Cream cheese, Tomme de Lullin and gorgonzola's thus far, and next week monday i am getting cultures to make real cheddar, Gruyere, Emmenthal, Raclette and many many more.
So now on this blog, i am going to feature something that i am working on for my December menu here at the Golf Club and that is a totally in-house made Gourmet sandwich with the following: Camembert, Duck Ham, Green Fig preserve on a pickled onion & peppadew bread with farm style butter.
This means that the Fig preserve will be made in house (i have a massive green fig tree, that is starting to fruit now after the long winter) the duck ham i started yesterday, will post a picture lower down, the bread is made in-house with no additives or preservatives and good stone ground flour, the Camembert i am making already, just getting my timing right now for it to be mature, and the butter is real unsalted farm butter that comes in a ball and smells almost cheesy, this is made by a dairy just down the road, have made my own butter cost is too expensive, and this stuff is the real deal, much better than the conglomerates stuff, and then lastly some good quality organic rocket from an amazing little organic farm down the road.
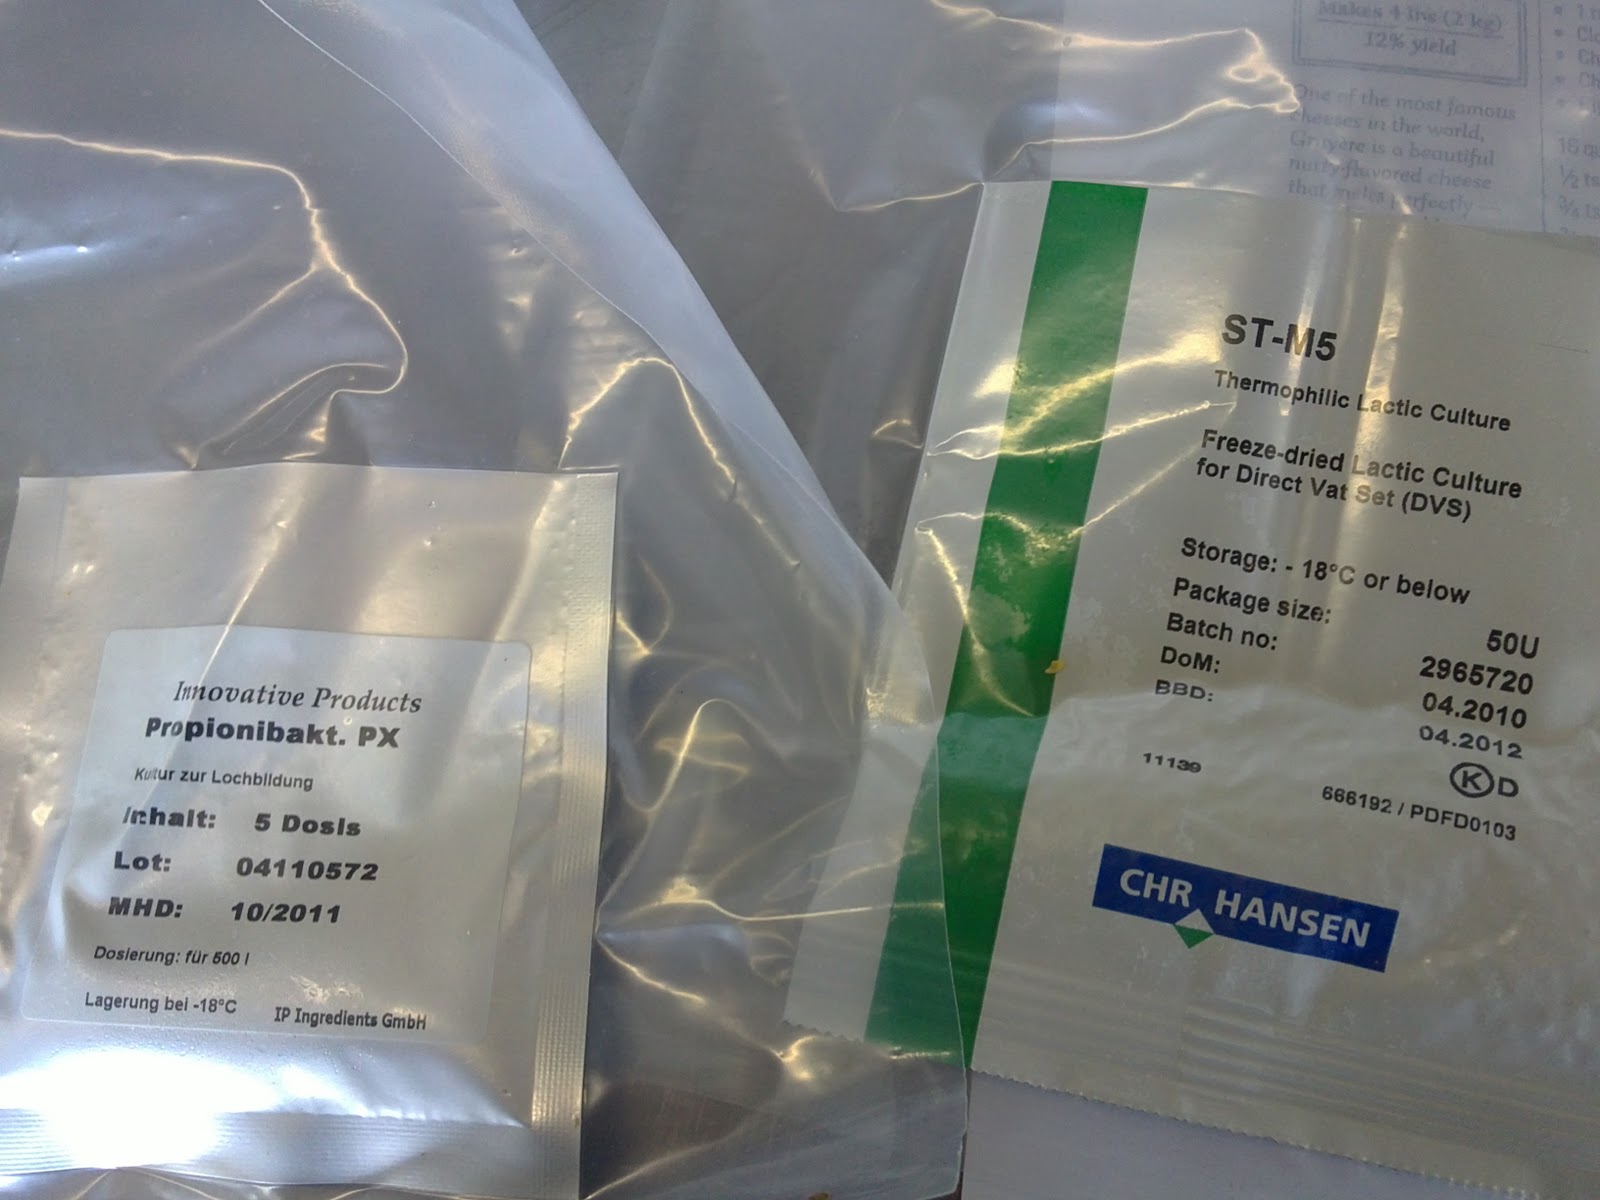
So first the Camembert, this is not the hardest of cheeses to make, i actually think it is one of the easiest in my own opinion. it starts off with milk (pasteurized is ok to use, as long as it is not more than 24hrs old), a mesophilic type cheese culture, bacterium candidum, and liquid rennet, i am not going to post the entire recipe if you would like it, comment on the page and i will give you my email address and i can give it to you like that.
(Also if anybody is looking where to get cheese cultures contact me and i will put you in contact with the right people who deliver any where in the country!!! and it is real cheap!!!!!)
Here is a picture of one of my Camemberts, this one is now 16 days old and can be eaten from about 21 - 28 days.
The duck ham is soo super easy to make as well, i have made a small batch before to try it out and it worked wonders so i made a big batch yesterday, the basics of the ingredients are duck breast, preferably fresh, i used maldon sea salt, but Sel Gris would be better or even a pure non-iodize sea salt, organic coriander seeds, organic thyme and black pepper, it is best to use organic stuff as it does not have harmful chemicals in it that may cause bad bacterial growth on the ham, and fresh garlic (not the bought crushed stuff PLEASE)
this is what the duck ham looks like whilst in the cold room
it sits in the spice mixture for 3 days, which ends up being a pool of liquid, then it is rinsed off with water and patted dry, then wrapped in muslin and hung in a cool, dark place for around 20 days, hey presto that easy.
Anybody who has made preserves knows how easy that is, for my green figs, i will macerate them with fructose for a couple of hours, then add sugar, water and the macerated fruits to a pot and cook slightly, then into sterilized jars, leave for a couple of weeks and ready to use, it is that easy, if you don't macerate the fruit it is normally equal parts fruit and sugar to make good preserves.
And then lastly the bread, to me it is of utmost importance that people stop using flour that is bleached, it is bad for you, the stone ground flours are only a rand or two more but the health benefits are exceptional.
Bread is a really easy thing to make, we always make our dough the day before and then leave it in the fridge over night and then in the morning shape it and leave it to proof again and then bake it. Basics in bread making are 1 pkt instant yeast per 800g flour, 1 tsp salt, 1 tsp sugar, 1 TBSP olive oil and around 450ml water. this will yield a nice big bread. we change our bread on a daily basis and make things like sun-dried tomato and herb, olive & feta and so on and so forth the combinations only end were your imagination ends.
So anybody who is interested in either cheese-making, or baking bread or making duck hams, feel free to contact me through my blog and i will drop you any information that you may require.
I will be posting in the next week again, i have an amazing cream cheese recipe to make your own cream cheese and then a cheesecake from your cream cheese!!!!!!! awesome stuff
Happy cooking,
This is my Gorgonzola - at 3 weeks
My Drunken pecorino at 4 months
Gouda at 2 weeks - will get waxed in 3 days time
Tomme de Lullin at 3 weeks
 Hello everyone,
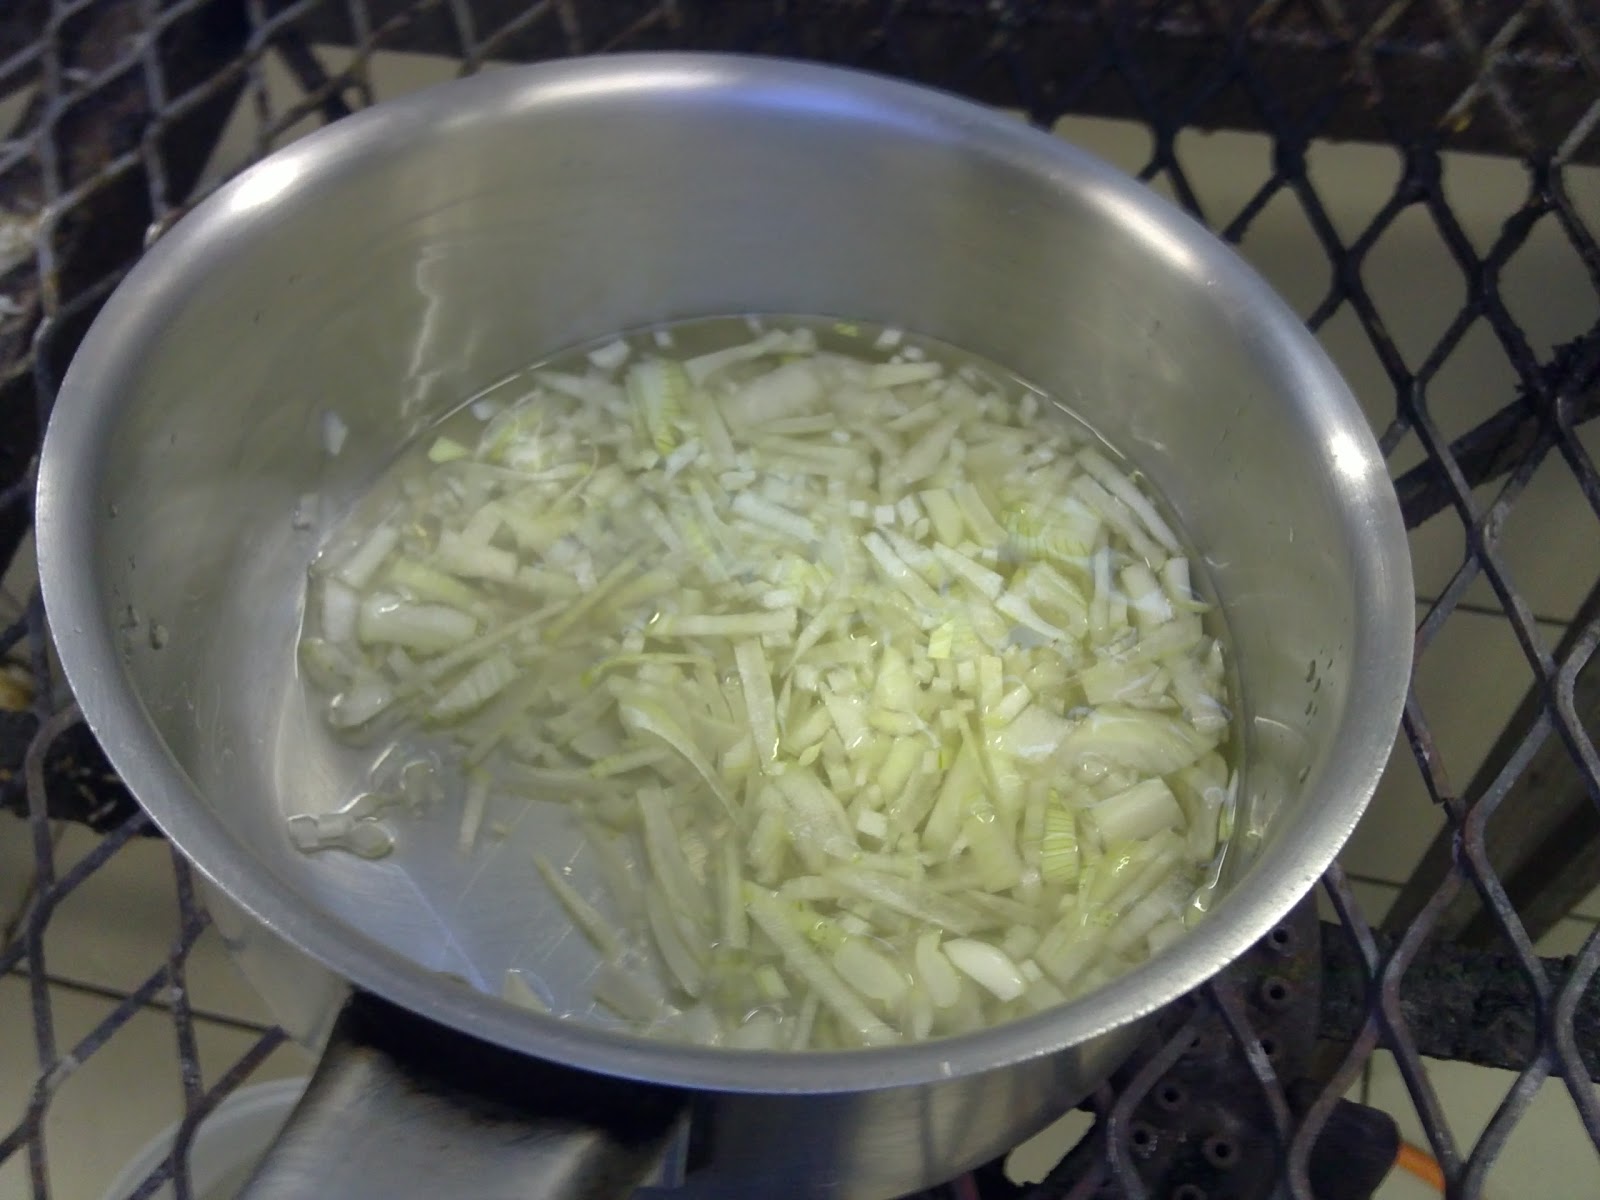
 So now it starts off with "washing" them which involves cleaning them out of any poisonous leaves or pesticides that they may have eaten, so usually they starve them for 10 days, but I have chosen to feed them a diet of fresh organic rocket and organic fennel, I take them out of their habitat every morning and wash them lightly with water, funny thing that because it gets their stomachs working, then I put them back into their habitat with food, I will continue this for 4 days, after day one the poo has already changed from black to dark green, then after the flushing of the system I will starve them for 2 days by only washing them in the mornings.